

A Shorted Bike Battery Charger Repaired. Model: SSLG084V42
A bus driver and a friend of mine brought me this charger for repair. When I powered up the charger, the stand by light did not come on for some reason. I decided to open the charger and find out why it was not working. Let us begin.
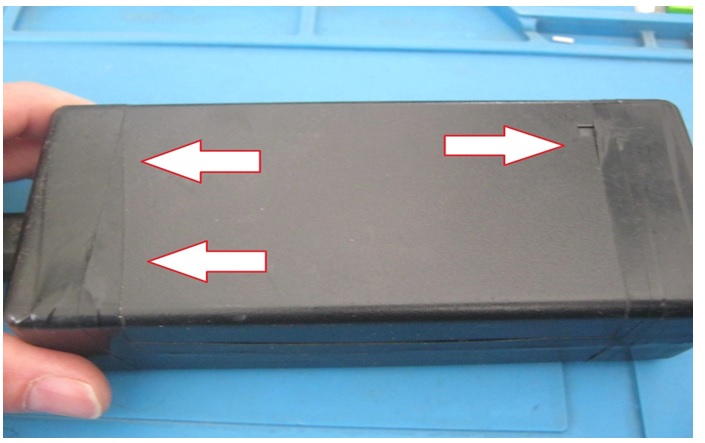
It was very clear that it was repaired before because of the outside electrical tape wrapped around the charger.
As I took the electrical tape off and unscrewed all the four screws off I was able to see the disaster inside.

It looked really bad and I almost gave up on continuing the repair task. That image did not give me any hope of getting this charger fixed.
It is an expensive charger. It was rated 42 volts at 2 amps. So I put it aside and did not do anything to it. Later on I got a call from the customer and he was asking about the charger. As I explained the situation to him, the man insisted to get it repaired. He even promised to pay for my time spent on the repaired even if it did not get fixed.
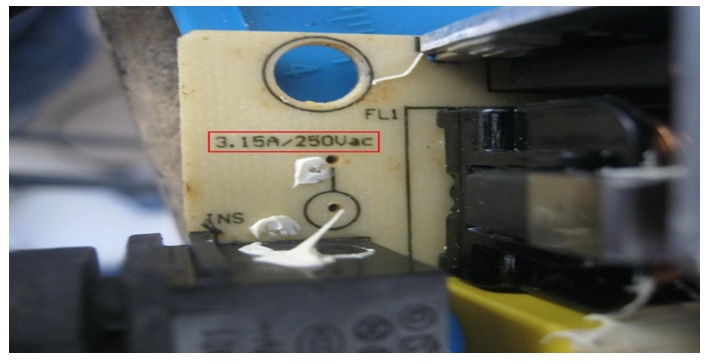
With that in mind, I resumed the repair task. The first step was to get it cleaned and then check for bad components. After cleaning I headed directly to the fuse and it was open. With the fuse open, I headed to the bridge rectifier and the other component in the primary and secondary section of the charger.
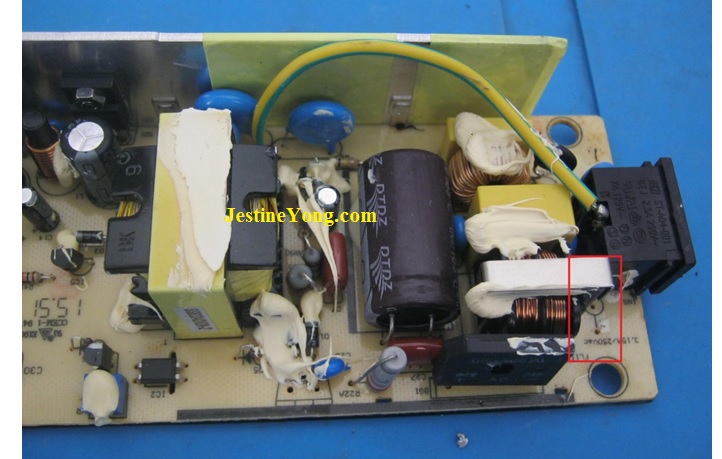
To my surprise, the only bad part found in the charger was the fuse. The black burnt marks found on that charger were due to the some loose soldering joints.
I did more cleaning and I re soldered all the loose and cold joints. I connected a light bulb to the fuse pins and powered up the charger, they charger was short free.

The charger stand by light came on green and the light bulb stayed dim. It is safe for me now to put a new fuse on and put everything back together.
Mission accomplished.

This article was prepared for you by Waleed Rishmawi, one of our ‘Master Authors’ and currently working in the Bethlehem area of Palestine repairing electrical and electronic equipment.
P.S- Do you know of any your friends who would benefit from this content that you are reading now? If so, forward this website to your friends or you can invite your friends to subscribe to my newsletter for free in this Link.
Note: You can check his previous repair articles in the link below:
https://www.electronicsrepairfaq.com/a-hovering-board-charging-port-improved-and-modified
Well done!
Parasuraman: thanks man. have a blessed day
Often repairs like these at first seem impossible to fix but in the end turn out easy as pie. It is mostly just a matter of ruling out the most obvious reasons of failure.
Albert: I learned the lesson of not judging anything till I see the actual thing. after cleaning it was all clear to me that it was an easy fix. have a blessed day