

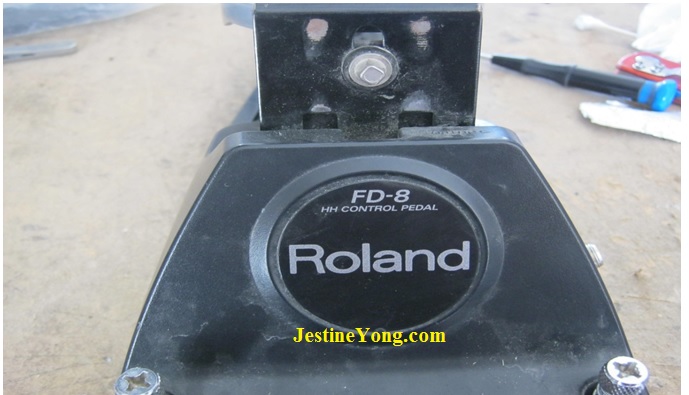
A Hi Hat Controller Repaired. Model: Roland FD-8
One of the guys at my Church approached me with a HI Hat controller that was not working very well. It is a foot controller that is attached to an electrical drum set and controllers the Hi sound.
I never worked on such controller before.
I researched the issue on the net and found a lot of information about this set.
On the lower side of it, there are about six screws. Once these are out, I could find something called the sensor. It is a like a switch on and off to controller the HI sound on the drum.
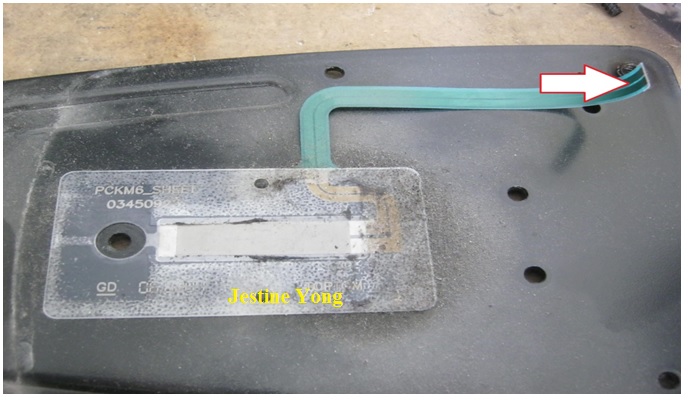
As you can see, it is very dirty so I did some cleaning on it but later on I found out that the sensor is covered with a plastic cover so the sensor was not affected by the cleaning.
If you trace back to the flex cable you will see two wires inside that flex cable. That is connected to the sound plug on the paddle. Later on I will explain how to test this sensor.
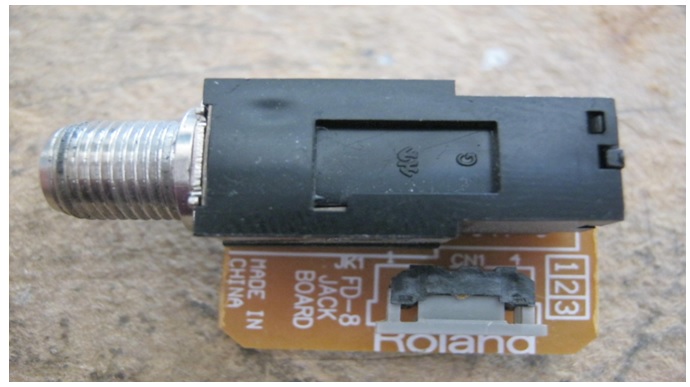
The flex cable is connected to the socket found on this audio jack of the external side of the machine.
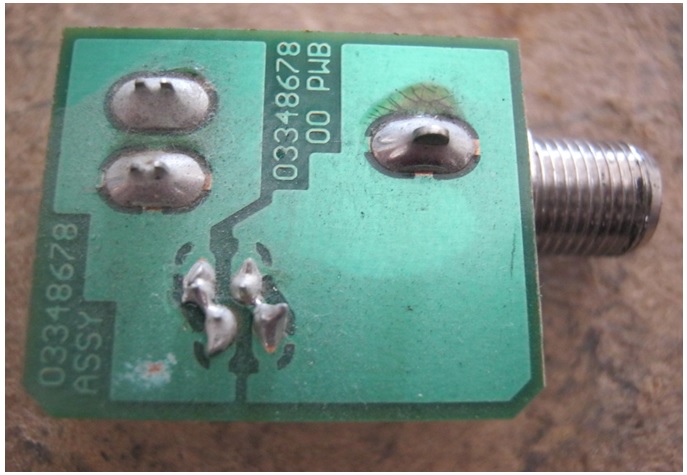
I found some cold soldering on the back of the audio socket and I re solder that part and it seems like it has a little affect on that controller.
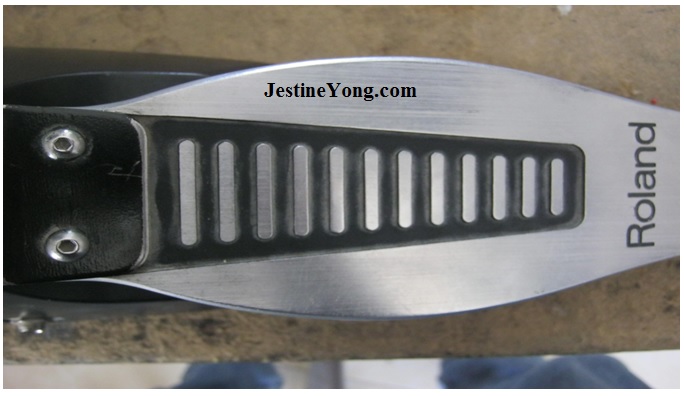
The main problem of this controller, it was not cutting the sound on and off very easily. In order to control it, the drummer has to press so hard with his foot on the paddle to cut off the music. It was either an issue with the sensor or the actual rubber piece that pushes down on the sensor.
You can test the sensor by putting the meter probes on the end of the flex cable ends and then press the sensor with our finger and see if it beeps or not. In my case, it beeped well.
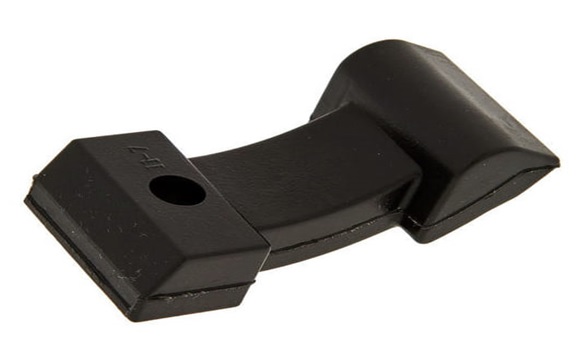
To be honest with you, I forgot to take picture of the actually stiff rubber piece that I found inside the controller. So I down load it from the net to give you an idea how it looks like. So here how it works.
The drummer plays the drum and hi sound is coming out. In order for the drummer to control this hi sound he presses down on the paddle. This pushes the foot down; the foot presses the rubber piece down to the sensor and cut of the Hi sound.
According to my research, the rubber piece is too stiff to reach the sensor to cut off the Hi sound. So it has to be replaced or somehow make that rubber piece more flexible to reach the sensor. There are a lot of ways to make that rubber softer, one of them is putting the piece in boiled water for sometimes or apply some kind of oil or Vaseline to the piece. When I talked to my pastor about it, he advised to buy a new one. Once it was replaced, connected it to the drum, it was working fine again.
It was an interesting repair experience for me and it was time well spent to learn more stuff about this controller. Mission Accomplished.

This article was prepared for you by Waleed Rishmawi, one of our ‘Master Authors’ and currently working in the Bethlehem area of Palestine repairing electrical and electronic equipment.
P.S- Do you know of any your friends who would benefit from this content that you are reading now? If so, forward this website to your friends or you can invite your friends to subscribe to my newsletter for free in this Link.
Note: You can check his previous repair articles in the link below:
https://www.electronicsrepairfaq.com/how-to-repair-a-glue-gun
Good job, Waleed.
Now that was fun, and bless you, you finally just changed the part.
I have been repairing these units and Piezo sensors for years, and it would have been fun to see how you did that…
Wonder if you can help. neighbour attempted to change his sensor but has pulled the ribbon cable connector on the pcb apart. any idea where i can get. a replacement?
I recently learned that not only rubber can be made softer in boiled water. Also the plastic of a very crooked 3D printed enclosure was easily made softer with plain hot water. Boiling was not even necessary. I was able to remodel the bad shaped enclosure a bit because the 3D printed plastic used had a very low activating temperature. Using Hotmelt to fix a pcb inside the case can be a problem because of the very low creating temperature of the plastic. I guess that leaving the plastic case in the hot sun is a bad idea too.