

Play Station 4 Shutting Down Repaired
A friend of mine brought a play station for repair and the main issue was it was shutting down after a use of five minutes and sometimes it does not start. This guy brought the same play station about one year ago and I did some cleaning on it and it was working fine till now.
I tried to power it on but and it did for a few seconds then it went into shut down. For such fault, either the main chip is getting hot due a short in it or the thermal paste on that chip it dry and it is not releasing heat the way it should be or it could be just dust and dirt inside the machine.
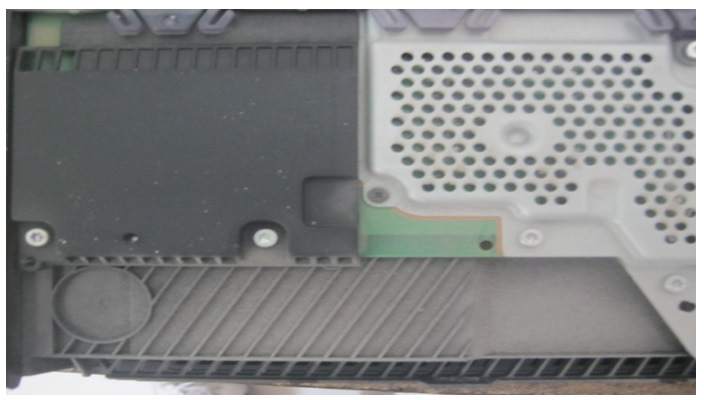
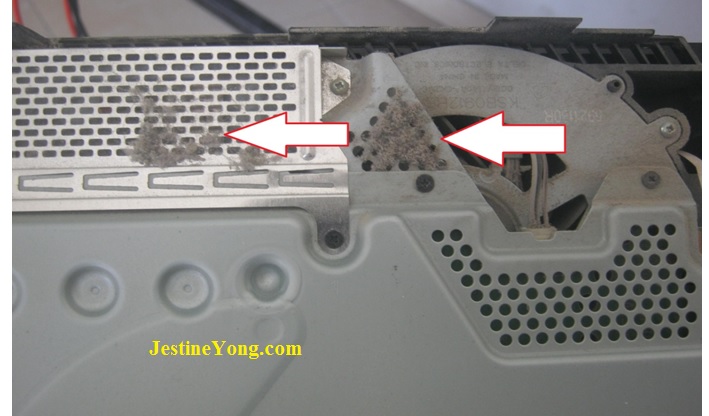
From looking to the photo up, I could see that dust is the main cause here because it was dirty.
When I attempted to power it on, I could not hear the fan spinning and that is really bad because heat is just sitting inside the machine cooking the main chip in and I was hoping that did not damage components inside.
The first step was to take everything apart, clean it then blow all the dust away that might be hiding inside the machine. Once done that, I need to check the main chip and see what was going on there.
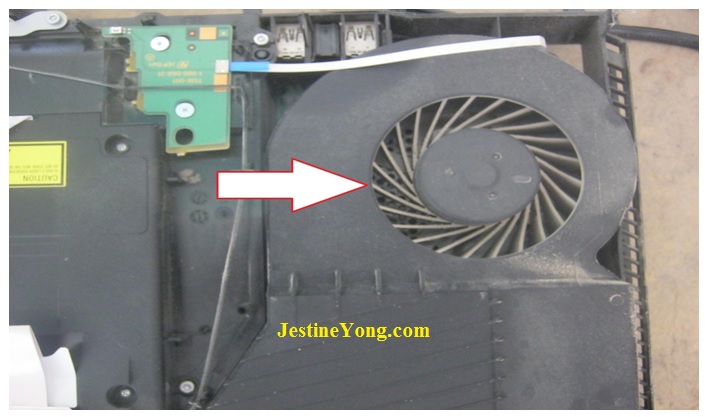
As seen in all the photos, it was really dirty and the fan was not even spinning. I tried rotating the fan with my finger, it did not rotate. It was stuck.
A good hint if you come across such issue please do not add lubricating spray right away without cleaning and blow away dust otherwise you will end up with a dust and dirt chunks plugging the air flow in vents inside the machine.

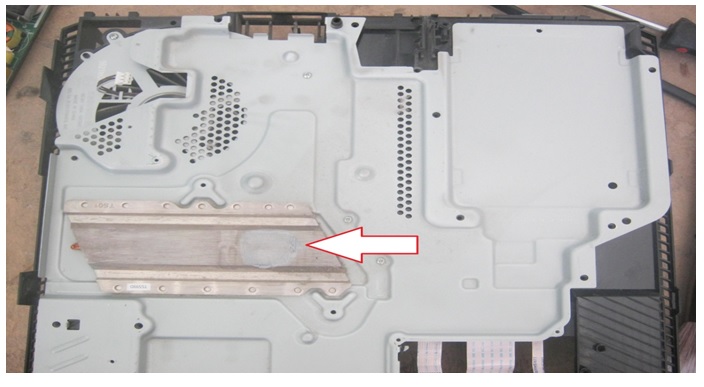
In order to get to the main chip, these white and black screws has to come out of there and I am sure I am going to see more dust and dirt in there.
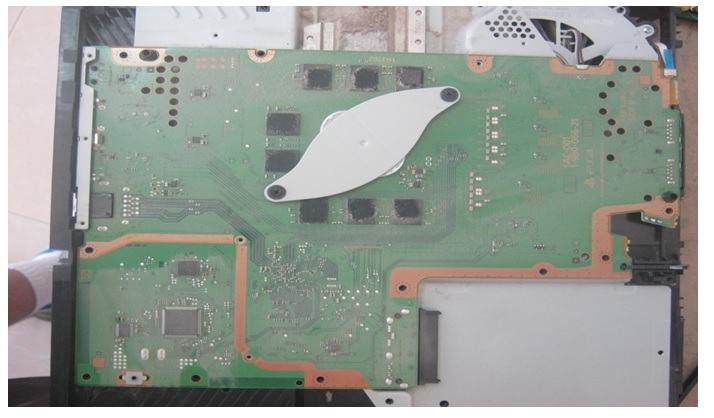
This is the clamp that is pressing over the main chip there. Take these two screws off to see what lay beneath.
The thermal paste was dry and has dust all over it and it looked like a pile of cement sitting on the top of the main chip. I was just hoping that did not mess the main chip because it is going to be hard reflowing it.

That is the main chip and it was a mess there. As you have seen me doing it in other repair articles, I cleaned the main chip and added some fresh thermal paste there. Then put everything back and tested the machine. I was so lucky that the main chip was not damaged. It was functioning according to specs.
Sorry to say that beyond this point, I did not take any more photos because I got distracted with other things in the shop but trust me on this one, it was working just fine.
Mission accomplished.

This article was prepared for you by Waleed Rishmawi, one of our ‘Master Authors’ and currently working in the Bethlehem area of Palestine repairing electrical and electronic equipment.
P.S- Do you know of any your friends who would benefit from this content that you are reading now? If so, forward this website to your friends or you can invite your friends to subscribe to my newsletter for free in this Link.
Note: You can check his previous repair articles in the link below:
https://www.electronicsrepairfaq.com/shorted-fets-in-hoverboard-repaired
Nice job
Axi Law: thanks and have a blessed day
Reballing a new chip indeed would be a hell of a job. Not to mention the special hotfix machine that is required to replace the chip. Also the Xbox360 is well known for its bga chip problems. But to hotfix those chips after the red-ring-of-death occurred, they in the past had a strange trick to disconnect the fans for only 10 minutes or more and switch on the Xbox. The heat generated often can reconnect the bga solder under the chips back onto the mainboard. And by replacing the original X-clamps with better mounting cooler clips the cause of this problem should be solved for a longer period of time.
Albert: I know my limitations because I cannot do reballing. It was just cleaning and adding thermal paste. I had some case where I added washers and new clamp and it worked just fine.Have a blessed day my friend
I am sure no one is going to distrust such a professional and passional technician like you! Won’t even think of it! Good job there! As I usually say, good technicians are like scavengers. Cleaning is the major job in any electronic device, which comes to our table, neglected by the users!
Parasuraman: thank your for the kind words. cleaning is part of the repair job especially with I deal with Welding machine usually full of dust and can not even see the parts on board so yes, cleaning is very important before and after the repair. have a blessed day my friend.
Wonderful post sir, I have sets in my repair shop lying down for long time on the same issue, just left it because I got tired of it, when I press power I will hear the sound like it want to start, but shutdown, and start blinking red light. Thanks